
Quick Answer
Pass Rama, recover both Farpoint keys, power the Theta Splice, then choose Close Rift or Stabilize Rift. In We Were Here Tomorrow, The World Beyond the Rift leads to a choice between saving Earth by stabilizing the rift and preserving the other world by closing it. Each player must carry one Farpoint key; these are separate from the hidden keycards near the final elevator.
How do you get through the rift gates and towers?
Clear the arrival gates together, use Ghost to open battery-controlled jellyfish walls, and continue through the towers and twisting shaft to Rama Revealed.
- Follow the starting tunnel south through the hall to the rift glass at the end of the corridor. Hold Interact at the pane, one player at a time, to reach the upper west wing.
- Pull down the web across the eastern walkway with the Hook Gun. Follow the walkway east, then north to the two chains. Hold one each simultaneously to open the jellyfish gate, then enter the pit behind it.
- In the caged-battery room, clear the corridor web and the webs covering the ghost source in the east alcove. Put Ghost into the battery beneath the cage. You can fire Ghost-charged goop into it or connect the source and battery with the two hooks.
- Ghost opens the wall beside the hanging lift and lowers the lift. Emptying the battery sends the lift back up. The upper-floor chains open the eastern gate; the tunnel beyond leads to the towers.
- In the towers, charge the battery on tower B's ground floor with Ghost from tower A. Rift glass also carries fired goop through to its paired pane. Keep the battery charged to leave the pit in tower B open.
- Both players must hang on the pair of monkey bars above tower A's second floor to open the middle wall. The pit in tower B leads to tower A's third floor. Hang on the next pair of bars together to open the hatch and ground-floor exit gate.
- The exit hole returns you to the caged-battery room's upper west ledge. The ceiling ring above the southeast ledge leads to the twisting shaft.
- In the shaft, clear the eastern web and put Ghost into the battery to open the wall behind it. The final pair of monkey bars is above the battery. Hang on both together, then take the teleporter behind the western gate to Rama Revealed.
Energy and Ghost both move lifts, but only Ghost opens the jellyfish walls wired to batteries. Removing that charge closes those walls immediately. Monkey bars need a player hanging on each one; hooks cannot hold them.
How do you pass Rama Revealed and reach the crash site?
Open the first gate with its chain and monkey bar together, stand beside your partner in Rama's chamber, then use the gravity paths and climbing mechanisms to reach the crash site.
- At the first gate, one player holds the western chain while the other hangs on the eastern monkey bar. Once both are held, the gate stays open.
- Enter the round chamber and both stand on the central spot. Rama speaks, and the floor opens after 16.5 seconds. Drop through it to continue. Any goop charges you carry are cleared at the bottom.
- Follow the curved gravity paths to the next pair of monkey bars. Hang on both together to swing the blocker aside. Move through together: it closes behind you once both players pass it.
- Charge the high battery on the next road with Ghost from the nearby source. This opens both jellyfish walls.
- At the climbing wall, the Hook Gun player holds both pustules of a pair simultaneously to extend that pair's platforms. Keep both hooks attached while those platforms are needed. The monkey bar moves another platform, and filling goop nodes grows additional ledges.
- Farther east, pull the four rocks out of the wall as you cross. Keep a player standing on a rock to hold it out; it retracts shortly after both players step off.
- Pull down the final high web. Continue along the gravity paths to the crash site and The Theta Splice.
On a gravity path, down follows the surface beneath you. Keep following the path even when it carries you upside down.
How do you open the jellyfish wall at the Theta Splice?
Stand in the two spots at the wall and both use Wave Emote within six seconds of each other.
Open your Emote Wheel, agree on a countdown, and wave together. Both spots must be occupied for the wall to respond.
The Theta Splice machine has two empty key slots, but its keys come from Farpoint Outpost. Continue there before trying to complete the machine.
The jellyfish wall responds to your greeting. You do not need to find a switch or shoot it.
How do you solve the Farpoint Outpost rune rooms?
Match object runes with action runes, complete the four rooms, then activate the hub to release the Theta Splice keys.
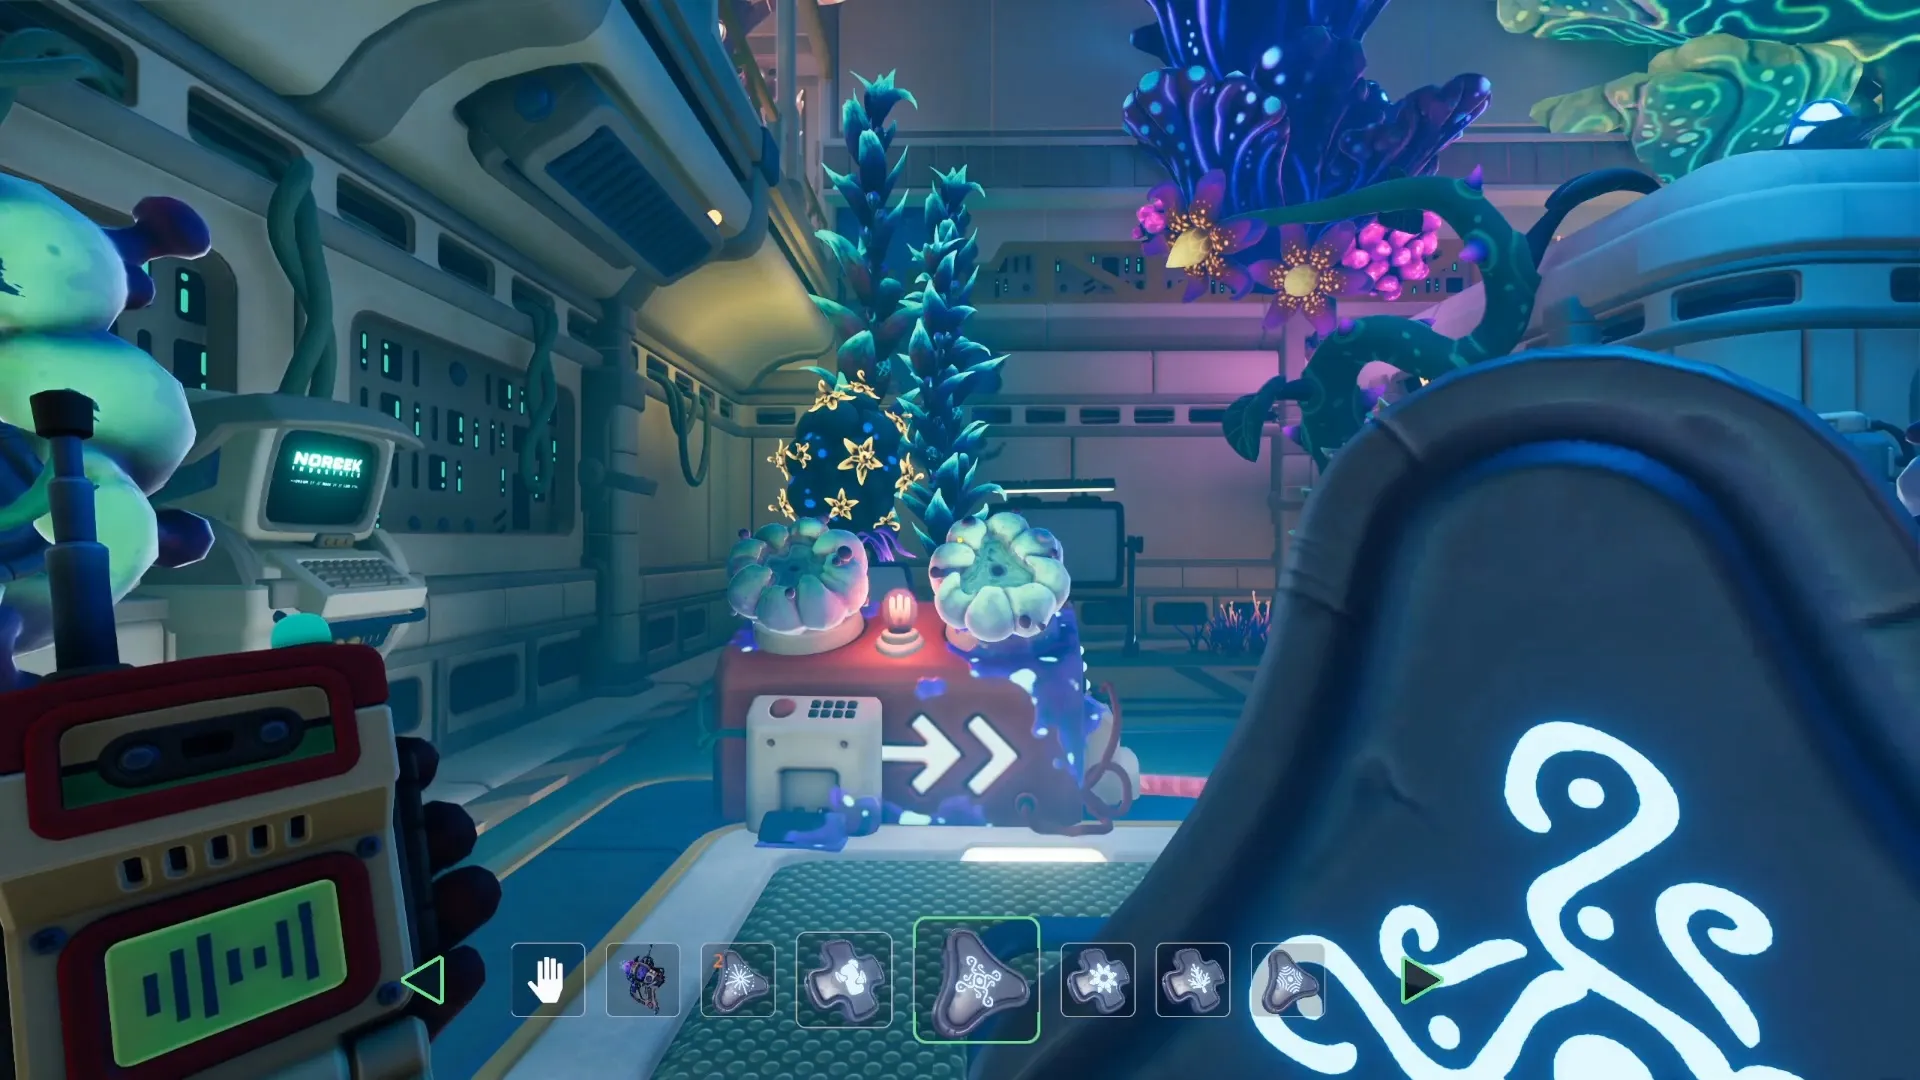
Two rune computers stand one behind the other. Describe the object and action in each machine before changing its runes.
Shown at 07:04 in Aravien_’s video.Plus-shaped runes represent objects. Triangular runes represent actions. An input machine checks whether an object has its selected action; a powered output machine applies its selected action to its selected object.
Use the plant's appearance to identify it:
| Object | Appearance |
|---|---|
| Blocker plant A | Dark vine wall |
| Blocker plant B | Cactus in a round pot |
| Blocker plant C | Low red-twig hedge |
| Watcher plant | Eye |
Room one
Give the platform plant Ghost to unlock the exit behind it.
- Send one player into the western corridor with the floor grate while the cactus pots are still transparent.
- At the always-on machine in the northeast, replace the cactus object rune with the loose red-hedge object rune. Keep Ghost in its action slot. The hedges become transparent and the cactus pots become solid.
- The western player passes through the hedge to the upper trade cabinet. Put its cactus rune into the nearby machine that already holds Small. The cactus pots shrink so both players can pass again. Take the cabinet's red-hedge rune too.
- Remove Ghost from the unpowered machine beside the vine wall.
- At the input machine between the central room and the grate room, replace Pushcoli and Observe with the red-hedge rune and Ghost. This powers the output that gives the platform plant Ghost, unlocking the exit.
Room two
Supply Energy to the node on the east wall using the hook-only energy plant inside the red hedge.
- Put Platform plant and Big into the always-on machine on the west side. The central platform rises.
- Take the loose hook-only energy-plant rune near the south wall. In the upper western room, put Platform plant and Big into the input machine, then put the hook-only energy-plant rune into its linked output, which already holds Activate.
- In the main room, find the output holding the hook-only energy-plant rune and Small. Replace that object rune with the red-hedge rune. The watcher now shrinks the hedge instead of shrinking the energy plant.
- Have the Goop Gun player stand where an eye can see them near the plant. The Hook Gun player connects the plant's energy source to the eastern node.
“The eye is looking at me.” Keep that condition active while your partner makes the connection.
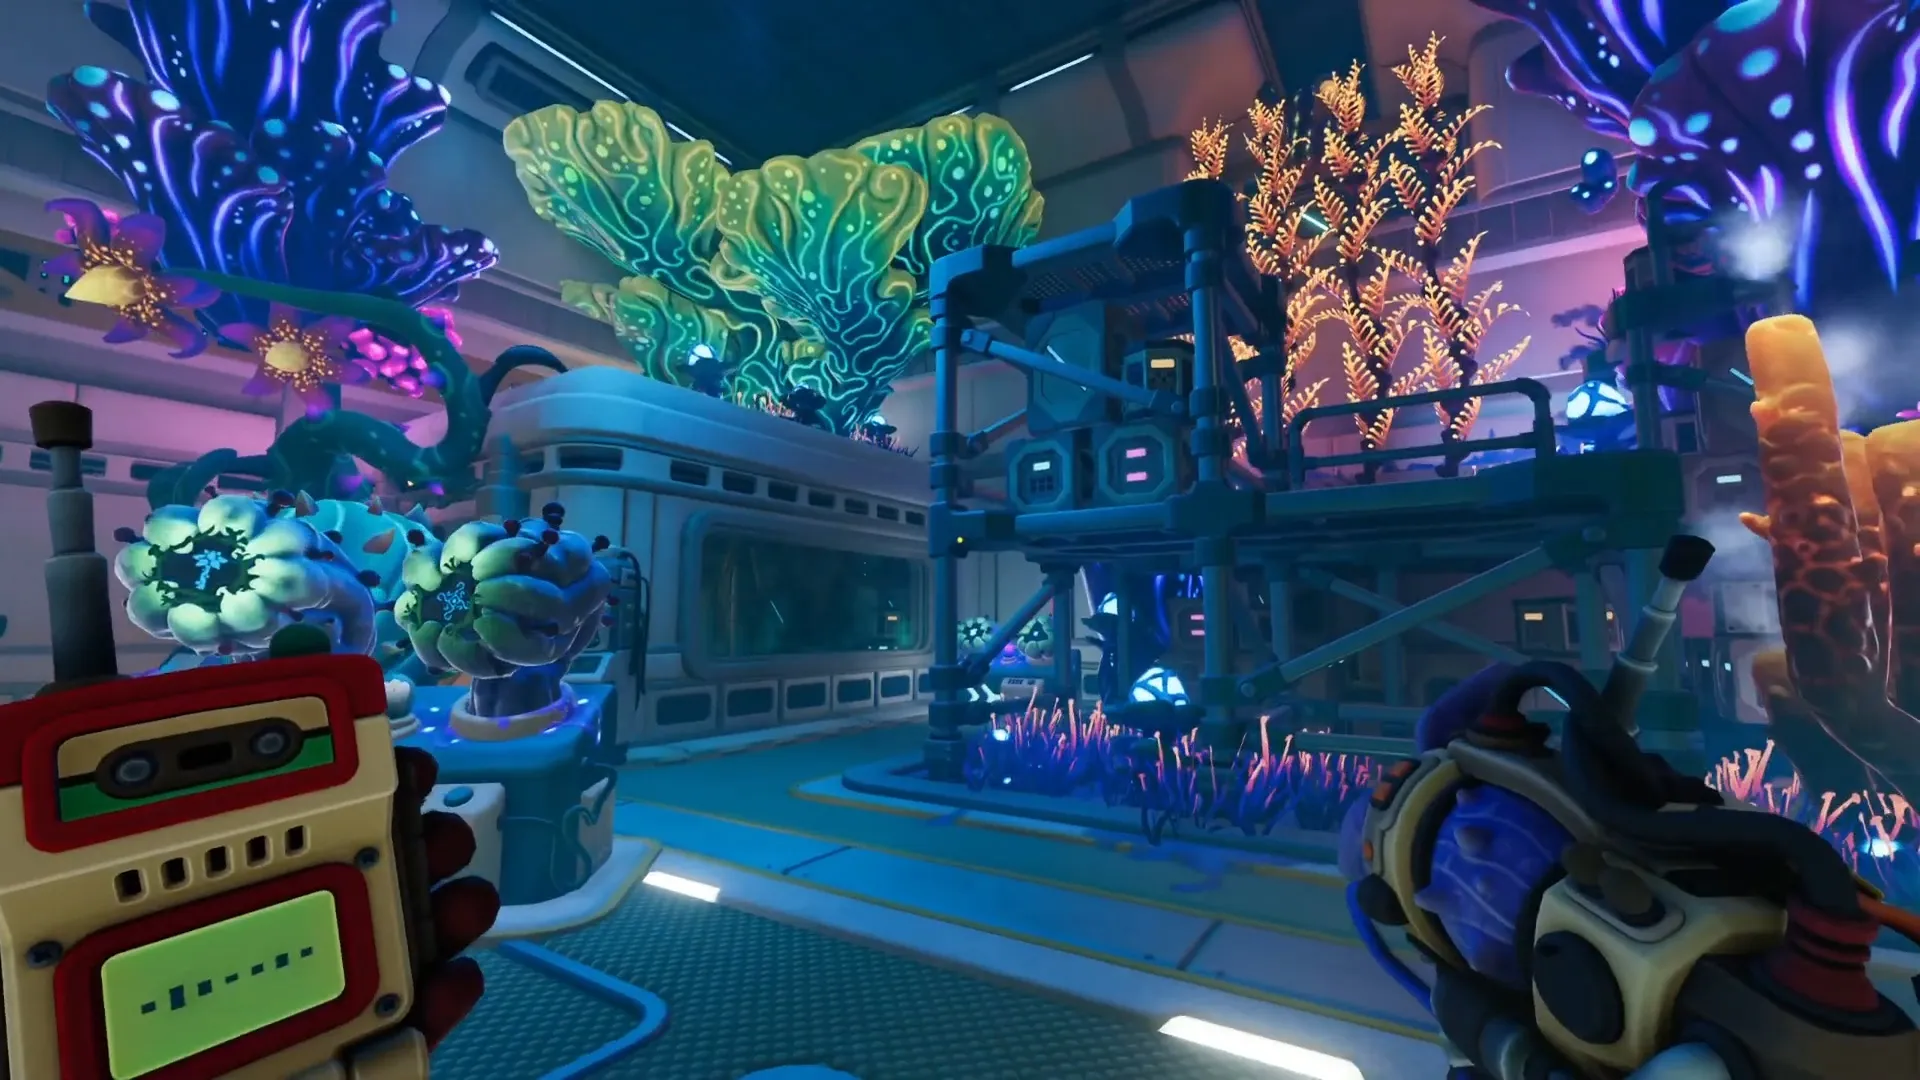
The watcher eye faces you in the rune room. Its Observe condition depends on seeing a player.
Shown at 19:02 in Aravien_’s video.Room three
Make both vine walls transparent, then pull back the monkey-bar wall in each western side room.
- Split between the two entrances. The doors lock behind you.
- On the side with the northwest eye, put Watcher plant and Observe into its input machine.
- On the other side, put the red-hedge rune and Small into the output powered by that watcher input. Move the existing red-hedge and Small pair from the other input into the empty input linked to the vine-wall Ghost output.
- The player on the eye's side stands in its view near the side-room entrance. The hedges shrink, which powers Ghost for both vine walls.
- Both players enter their side rooms while the watcher condition is active and pull back their monkey-bar walls. Opening both releases the western exits.
Room four
Use the left-side runes to make the right-side watcher shrink the red hedges, then open both monkey-bar walls.
- Split between the left and right entrances.
- On the left, collect Watcher plant, Observe and the red-hedge rune near the trade cabinet. Take Small from the cabinet.
- In the western room, replace Songflower and Activate in the input machine with Watcher plant and Observe. Replace the vine-wall rune and Big in its output with the red-hedge rune and Small.
- The right-side player enters an eye's view to shrink the hedges in front of their exit.
- Each player must reach and pull back their exit-room monkey-bar wall. Both walls must be open to release the airlock doors.
Watcher inputs switch off as soon as the eye loses sight of you. Also, both players must surrender the appropriate rune set at each airlock. One player emptying their inventory is not enough.
How do you release the Farpoint keys and power the Theta Splice?
Turn on hub machines 1 through 6 and activate both hub energy plants to release the keys held by the central macrophage.
Collect the hub runes from the dispenser after each room. Each dispenser works once and gives its entire set to the player who uses it.
Before entering room four, leave the hub's hook-only energy-plant rune in a hub machine or trade cabinet. It comes from the dispenser after room three, and room four's entrance removes every hub rune you carry.
For the final hub phase, both the ordinary energy plant and the hook-only energy plant need Activate or Energy. Machines 7 and 8 do not count toward the six-machine requirement.
Once the keys are released, take one each. A player already holding one cannot pick up the other. Return to the Theta Splice and insert them as follows:
| Slot | Key |
|---|---|
| Left | Action-rune key |
| Right | Object-rune key |
With both keys inserted, the machine powers up and the way forward opens.
Where are the keycards before the final elevator?
Search the left and right rooms for their own hidden keys, then insert each into the slot in the room where you found it.
A keycard slot blocks the room's exit before the final choice. Each room needs its own key.
Shown at 106:40 in Aravien_’s video.- Left room: Find hidden key two inside the cardboard box against the wall, beneath the window with yellow pipes. Insert it into the left room's slot.
- Right room: Find hidden key one on top of the cardboard box beside the grey medical cart with a screen and keyboard, near the blue sofa. Insert it into the right room's slot.
“It's just lying around.” Look among the room's furnishings rather than returning to Farpoint for another key.
One inserted key opens the glass doors only partway. Both keys are needed to open them fully and continue to the elevator.
How do you make the final choice and get both endings?
Pull the chain for your chosen outcome, then press the two different console buttons together three times, with each pair of presses no more than 0.8 seconds apart.
Agree on the outcome before operating the machine. One chain moves the shared needle toward Close Rift; the other moves it toward Stabilize Rift. Count down for each button press. Pressing the same button twice or missing the timing starts another attempt instead of counting as a confirmation.
A ten-minute timer runs during the choice. If it expires, the currently selected side determines the ending. If neither side is selected, the game chooses randomly.
Close Rift
Choose Close Rift if you want to preserve the world beyond the rift. Earth continues to suffer its energy crisis, while you remain together in the other world.
The ending shows the Director facing Norček's failure to deliver, followed by a broadcast announcing Energy Plants. You finish together in the coral world. Both players unlock Tomorrow May Never Come.
Stabilize Rift
Choose Stabilize Rift if you want to save Earth through the rift's energy supply. The cost is the destruction of the world beyond it.
The Theta Splice fires through the rift, and a white sphere swallows the nearby creatures. A news broadcast announces restored power and Norček's energy monopoly. You finish watching the broadcast together on a sofa. Both players unlock Dawn of Tomorrow.
To see both endings, replay Chapter 7, Checkpoint 5: The Fate of Two Worlds and finish on the other side. You can track the rewards on the achievements page.
This is the final chapter. After the credits, return to the We Were Here Tomorrow walkthrough to choose an earlier section.
FAQ
Continue through Rama Revealed to Farpoint Outpost, release its two keys, and bring one key per player back to the Theta Splice. After the separate keycard rooms, select and confirm your ending at the final machine.
Closing the rift preserves the other world, while stabilizing it saves Earth at that world's expense. The choices award Tomorrow May Never Come and Dawn of Tomorrow respectively.
Yes, return through the checkpoint menu to Chapter 7, Checkpoint 5: The Fate of Two Worlds and choose the other outcome. Each ending has a separate achievement.