
Quick Answer
Route mirror, serene stone, then fiery heart into the Master Emitter. Choose the yellow room's spiky crystal with extra balls on top, the turquoise/green room's rounded stabilizer, and the middle heating specimen with two crystal growths, in that order. For the We Were Here Tomorrow Master Emitter crystal configuration, combine your partner's crystal sketches with the property notes and readable computer mnemonic.
The Master Emitter mirror, serene stone, and fiery heart puzzle is also the Master Emitter yellow and turquoise crystal puzzle or organic crystals puzzle. Master Emitter wrong crystal configuration refers to the warning you can get while solving this same puzzle.
This puzzle belongs to the Exotic Matter Laboratory walkthrough. Before choosing your route, have the crystal sketches, property notes, and computer order available between you and your partner.
What order do the mirror, serene stone, and fiery heart go in?
Send the continuous beam through the mirror/truth crystal first, the serene stabilizing crystal second, and the fiery heating crystal last, then into the central emitter. Inspect the readable computer for the mnemonic that establishes this order.
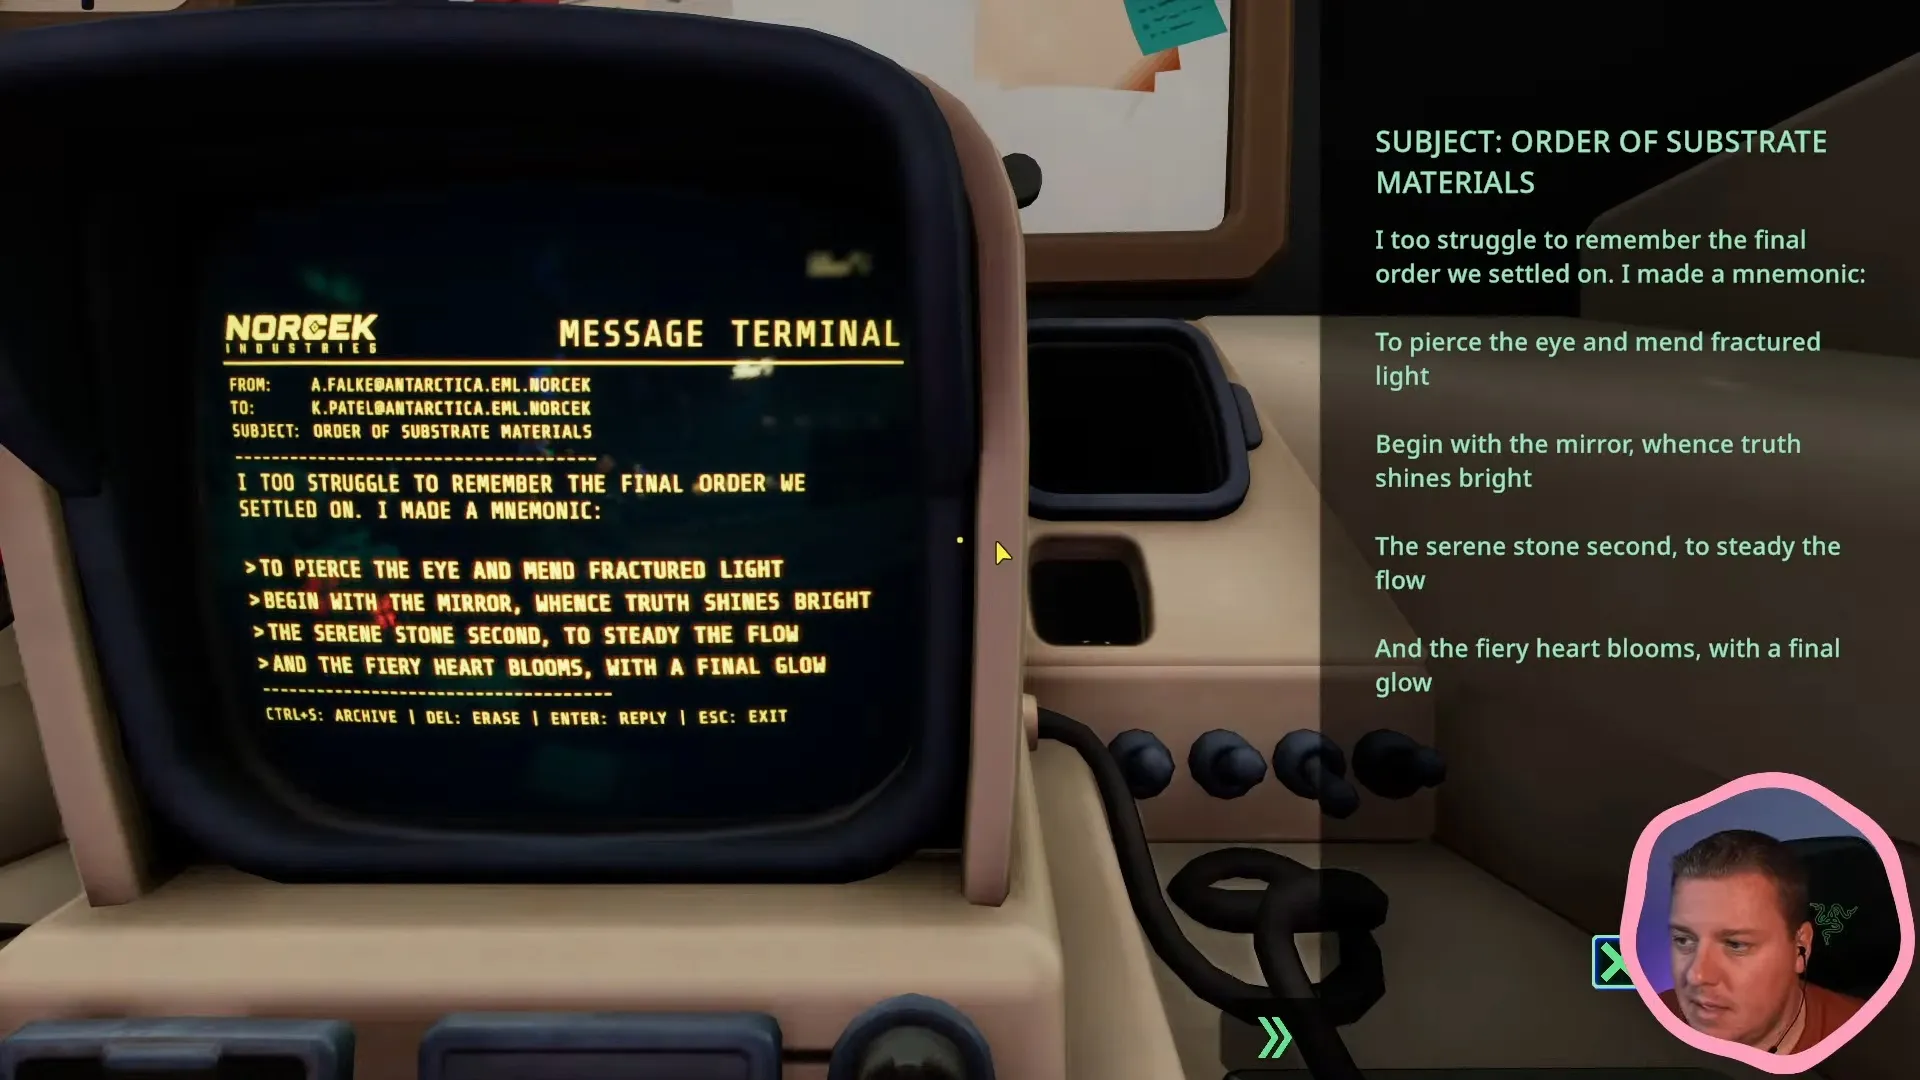
The readable computer gives you the crystal-order mnemonic.
Shown at 197:51 in ZedaphPlays’s video.Match each role to the sketches and property notes before moving the beam. The notes explain what the crystals do; the computer tells you when each belongs in the chain.
| Role | Crystal to choose | Where to look |
|---|---|---|
| Mirror/truth, first | Large and small spikes; extra balls on top | Yellow room |
| Serene stabilizer, second | Rounded, egg-like cluster | Turquoise/green room |
| Fiery heater, last | Middle specimen; two growths | Crystal-growth specimens |
Which crystals do you choose in the yellow and turquoise rooms?
Choose the top-ball spiky crystal in yellow first, then the rounded, egg-like stabilizer in turquoise/green. The two similar spiky specimens are not interchangeable.
Compare the yellow room's spiky pair
Tell your partner to check both spike sizes and the position of the extra balls against the sketch. You want large and small spikes with the extra balls on top. If both specimens seem to have mixed spike sizes, the balls on top are the useful deciding detail.
Identify the rounded stabilizer
Look for the smooth, rounded organic cluster described as Rupium in the turquoise/green room. Its egg-like growths distinguish it from the jagged specimens. Route the beam through this stabilizer after the yellow room's correct spiky crystal.
Finish with the heating crystal
Choose the middle specimen with two crystal growths. The neighboring one-growth and three-growth specimens are different choices, so count the growths when you describe it to your partner. Send the beam onward to the central emitter after this final crystal.
The warning about touching the spiky crystals does not mean you should avoid sending the beam through them. The correct spiky specimen is required at the start of the sequence.
How do you route the beam between the players' planes?
Use spheres for turns on the same plane and pyramids to transfer the beam between planes. Keep the required crystal order as you pass the beam back and forth.
- Decide whether the next connection stays on your plane or goes to your partner's plane.
- Place the corresponding sphere or pyramid to make that connection.
- Follow the beam onward and check that it does not return to an occupied mount.
If the early red-room detour sends the beam back through a mount already in use, bypass that detour. Send it directly to your partner from the first podium instead. This avoids the repeated mount without changing which crystals the beam needs to visit.
This is the Master Emitter crystal-selection puzzle. For the separate laboratory beam-routing puzzle, go to Laboratory Laser Relay.
Why does the Master Emitter say wrong crystal configuration?
A purple beam reaching the central emitter can still have the wrong crystal selection or order. Check the sequence and the individual specimens rather than treating the color as success.
Start with the readable computer's mirror, serene stone, fiery heart order. Then compare the yellow room's spiky pair again: the required one has extra balls on top. Keep the rounded stabilizer second and the two-growth heating specimen last.
In one successful attempt, the beam already reached the emitter and was purple, but the configuration was rejected. The final correction was redirecting through the correct spiky crystal in the yellow room; the emitter then blasted the door.
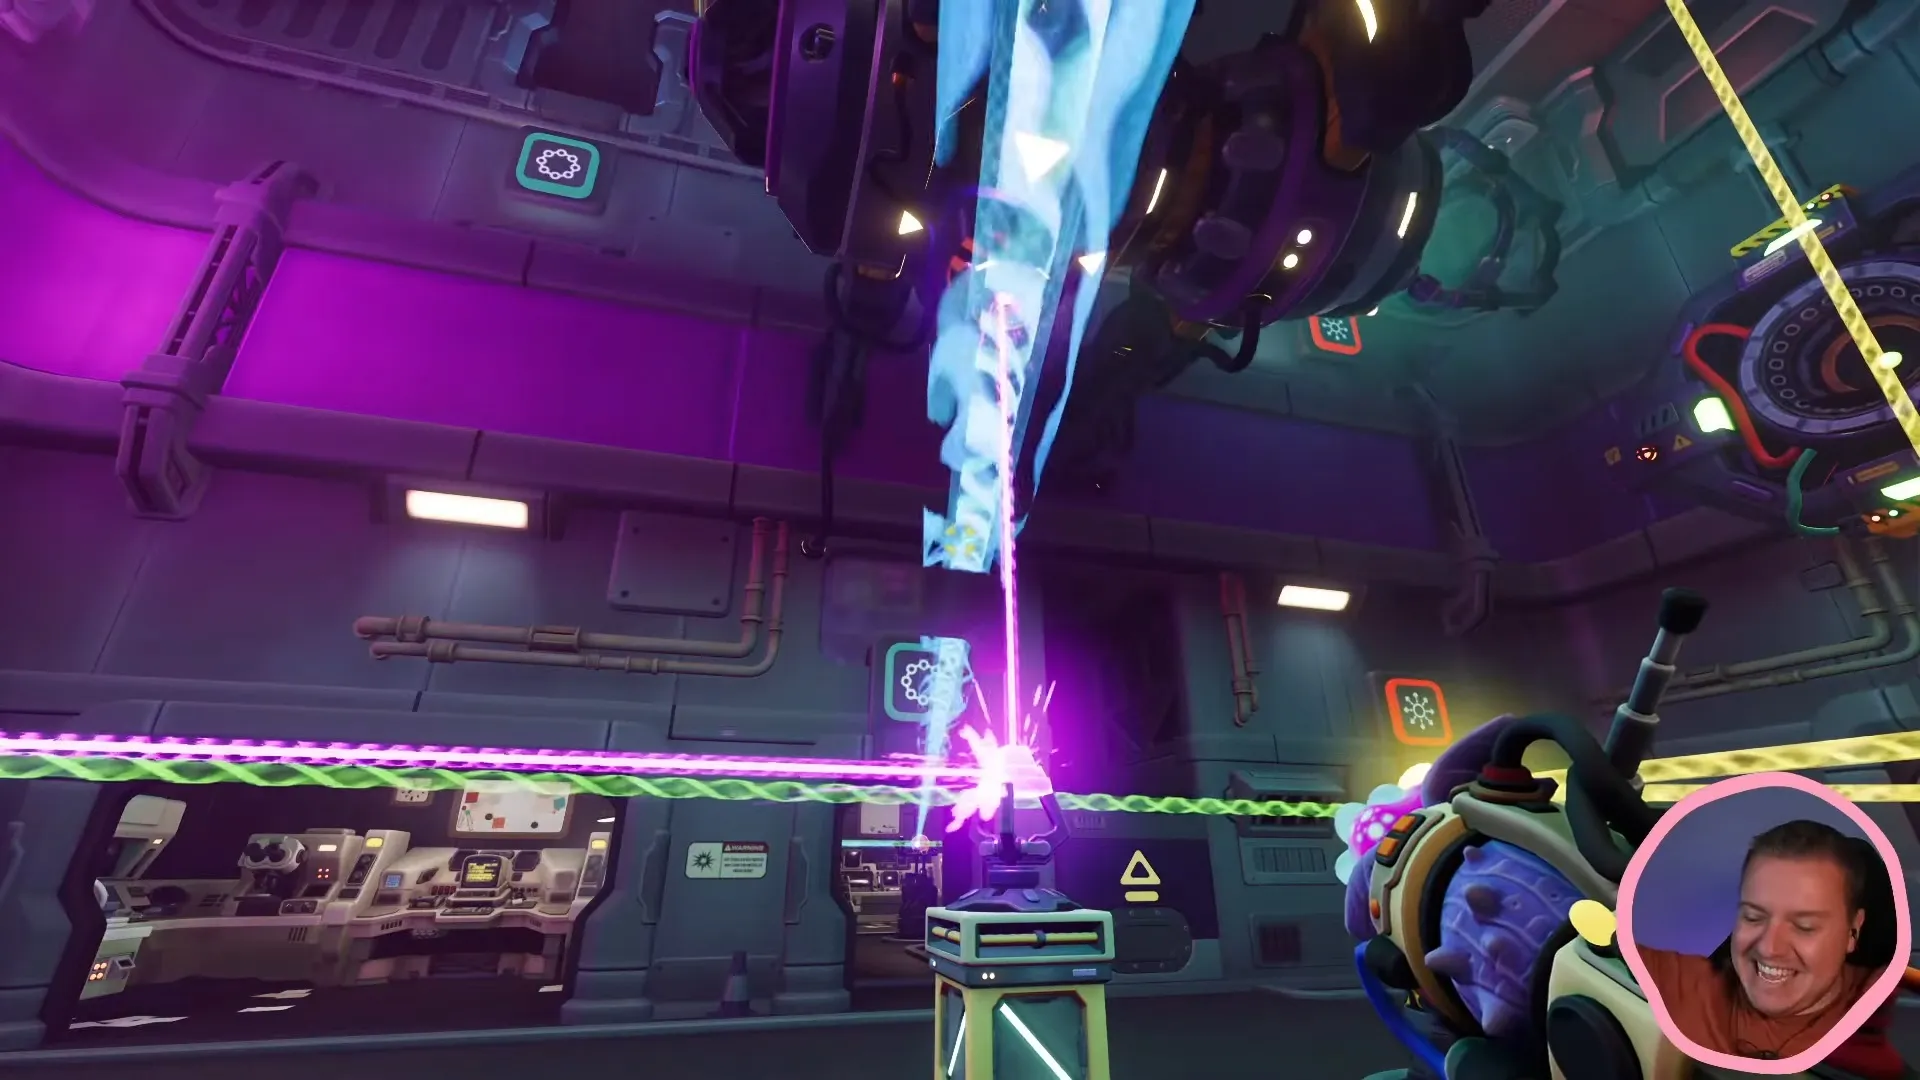
The Master Emitter fires toward the door after the crystal correction.
Shown at 200:38 in ZedaphPlays’s video.Why is this called the organic crystals or yellow and turquoise crystal puzzle?
These names describe different parts of the same Master Emitter setup: its clues, its rooms, its crystal shapes, and its failure message.
- Master Emitter mirror, serene stone, fiery heart: the mnemonic roles that tell you the order.
- Master Emitter yellow and turquoise crystal puzzle: the colored rooms used to describe the spiky crystal and stabilizer locations.
- Master Emitter organic crystals: the growing, irregular specimens you match to pencil sketches, as distinct from the spherical and pyramid routing pieces.
- Master Emitter wrong crystal configuration: the warning that sends you back to the notes when the emitter rejects the chain.
With the correct chain, the Master Emitter blasts the door so you can move on. Continue into the Ring Corridor walkthrough; the next puzzle is the Ring 4-1-5 Sequence.