
Quick Answer
Complete access, symbols and lasers; have your partner make you heavy on the Magnetic Stabilizer plate. This We Were Here Tomorrow Exotic Matter Laboratory walkthrough follows your separated routes through the access-card controls, gravity chambers and laser rooms. After the crystal configuration opens the exit, return to the earlier chamber and operate both levers to fire the large laser before leaving.
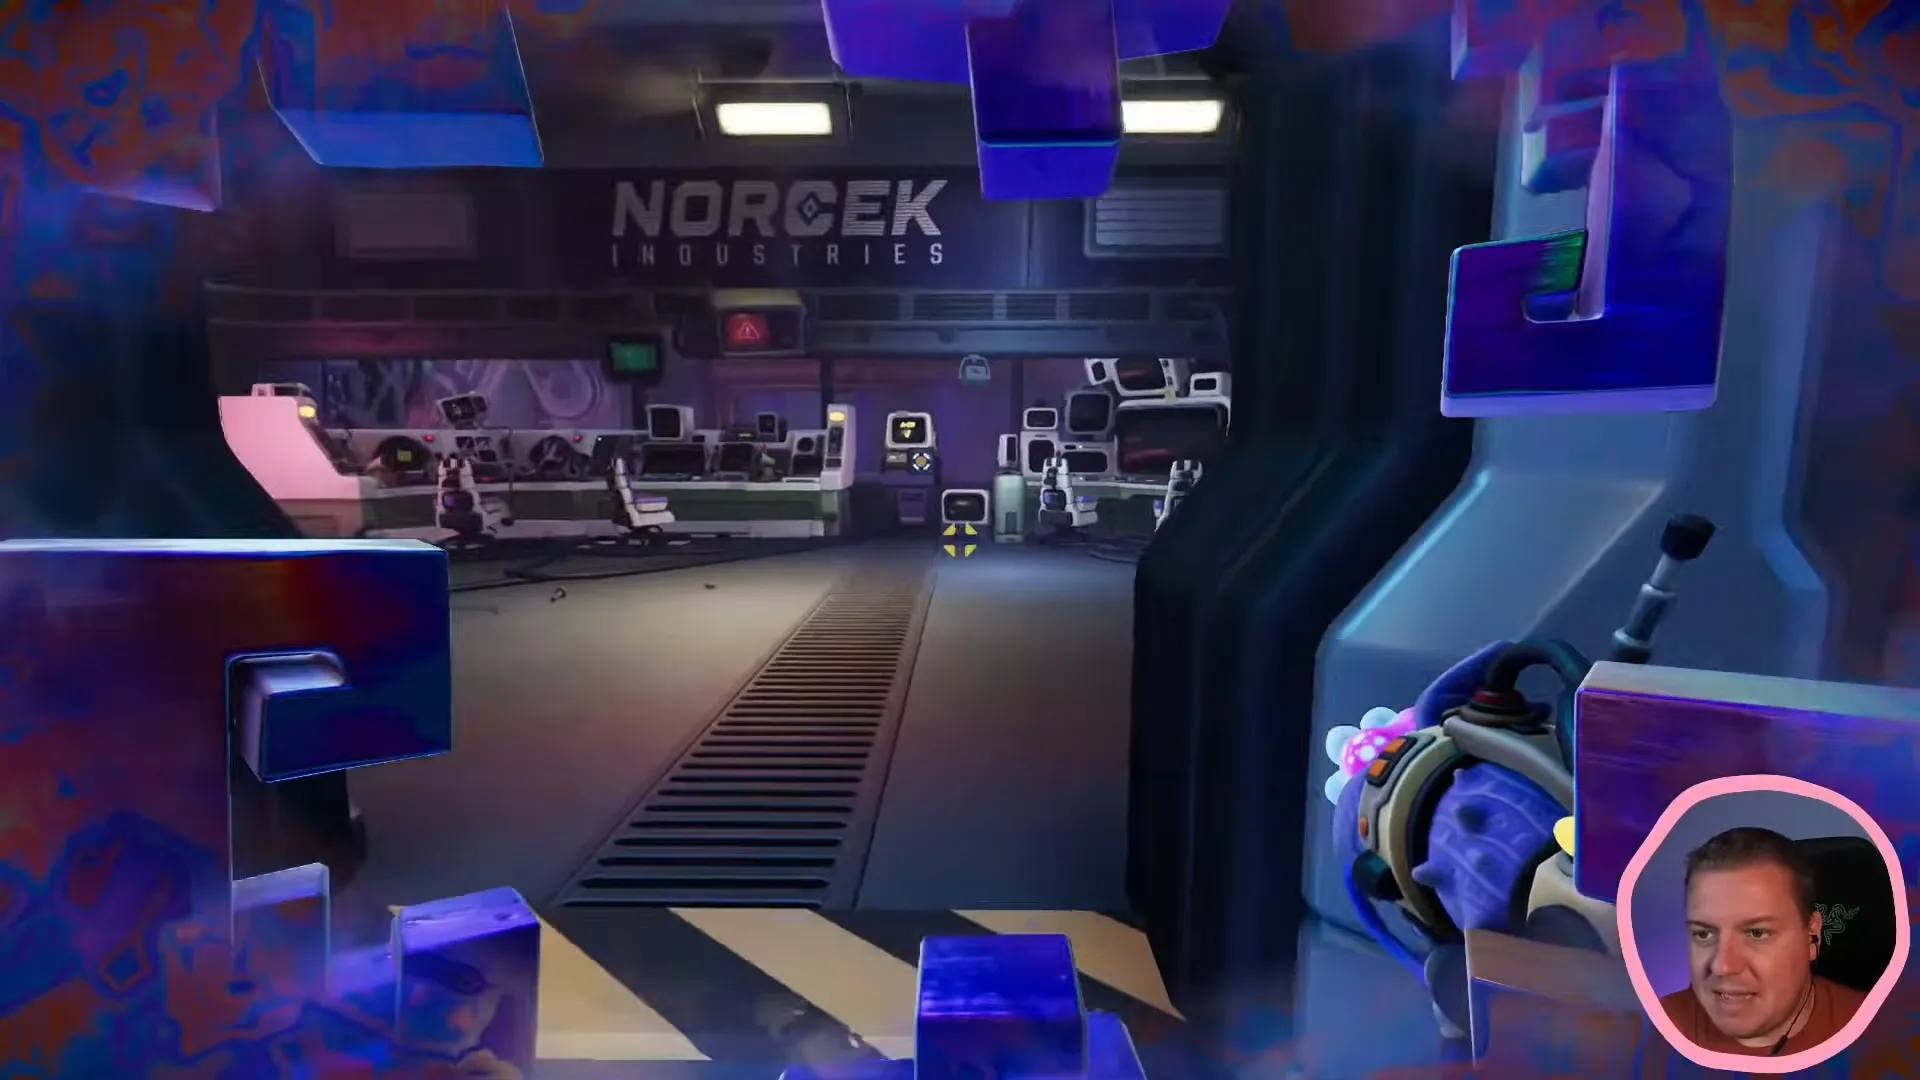
The weighted explorer activates the plate with the weight of two people.
Shown at 139:03 in ZedaphPlays’s video.How do you get through the Exotic Matter Laboratory entrance?
Help each other across the separated entrance routes using cubes, pull mechanisms, the raised pressure plate and elevators.
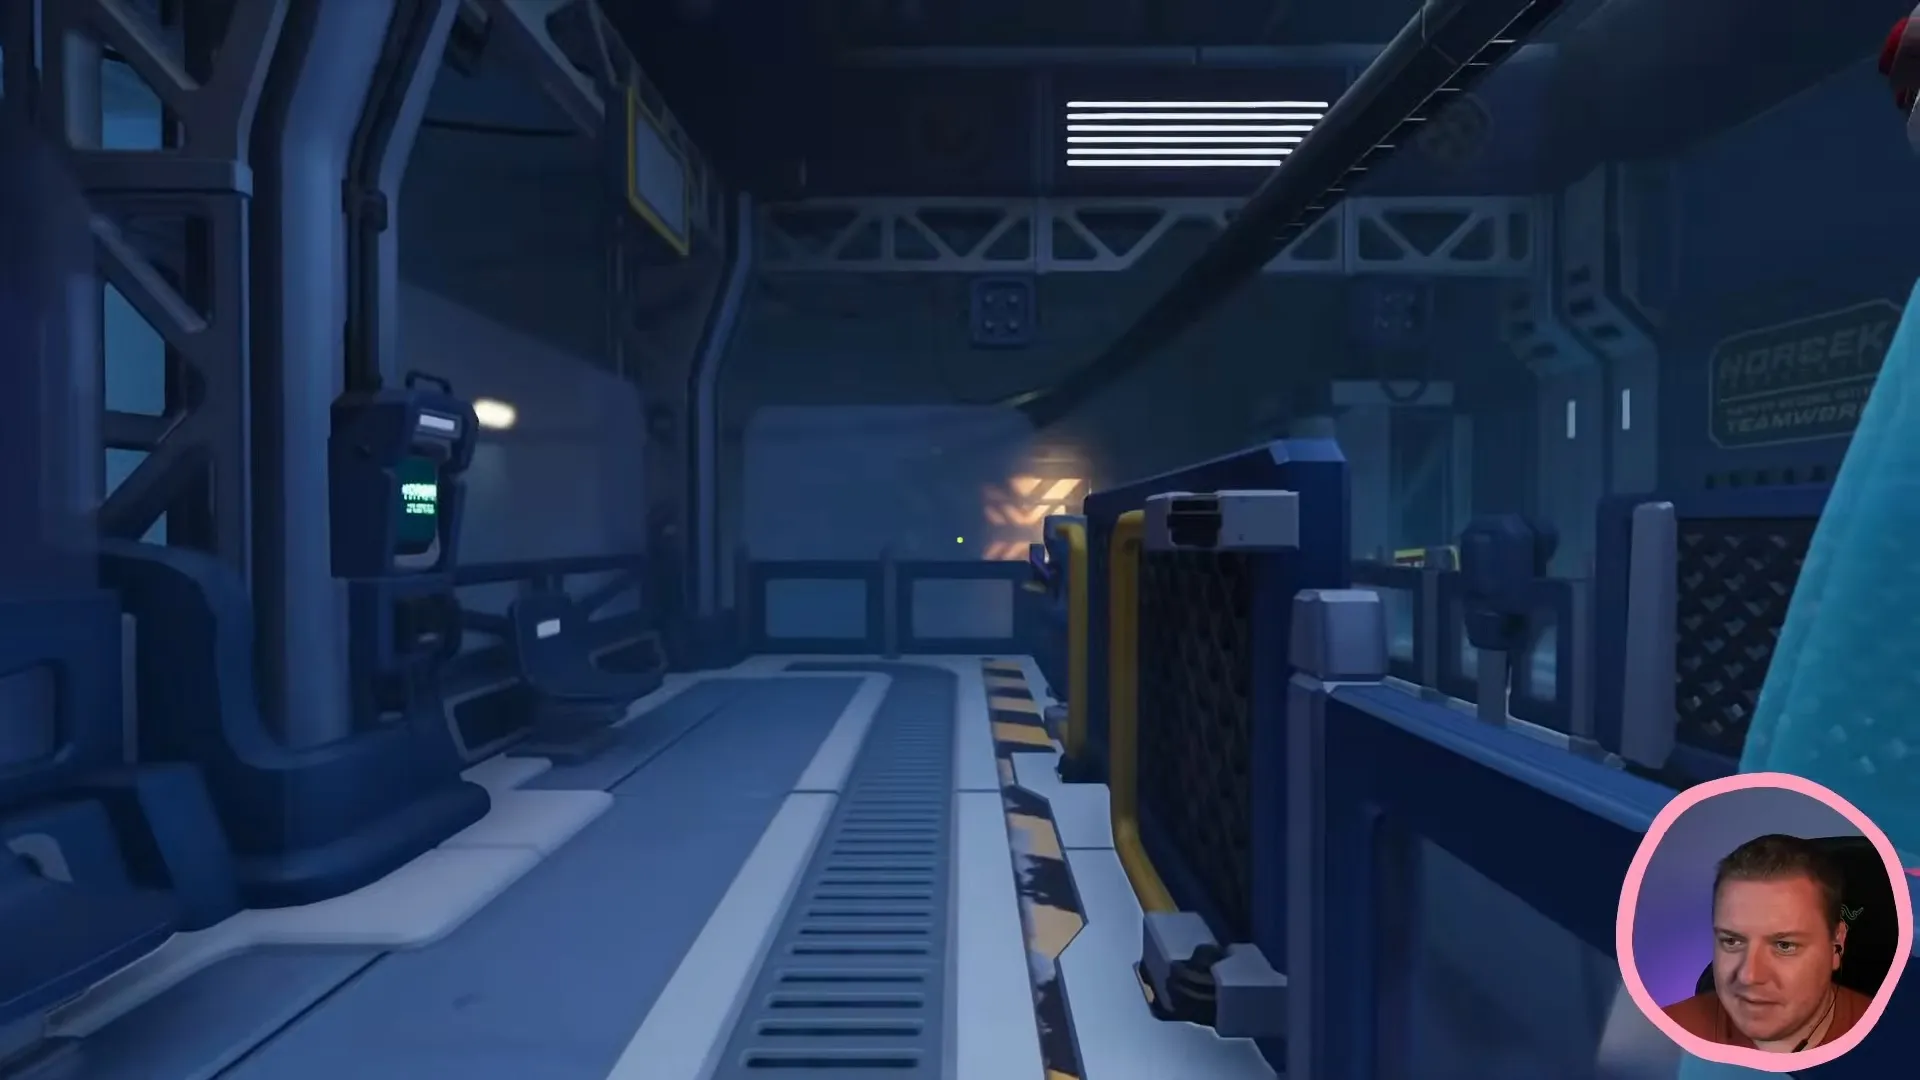
Your routes separate at the laboratory entrance.
Shown at 104:51 in ZedaphPlays’s video.- Use the ramp and pull mechanism to help your partner reach the higher platform.
- Keep the early pressure plate pressed with a cube or a player while your partner works through the flap and cube socket.
- Send the explorer with the cube ability onto the next elevator. Its button toggles between raising and lowering it; continue when the door opens.
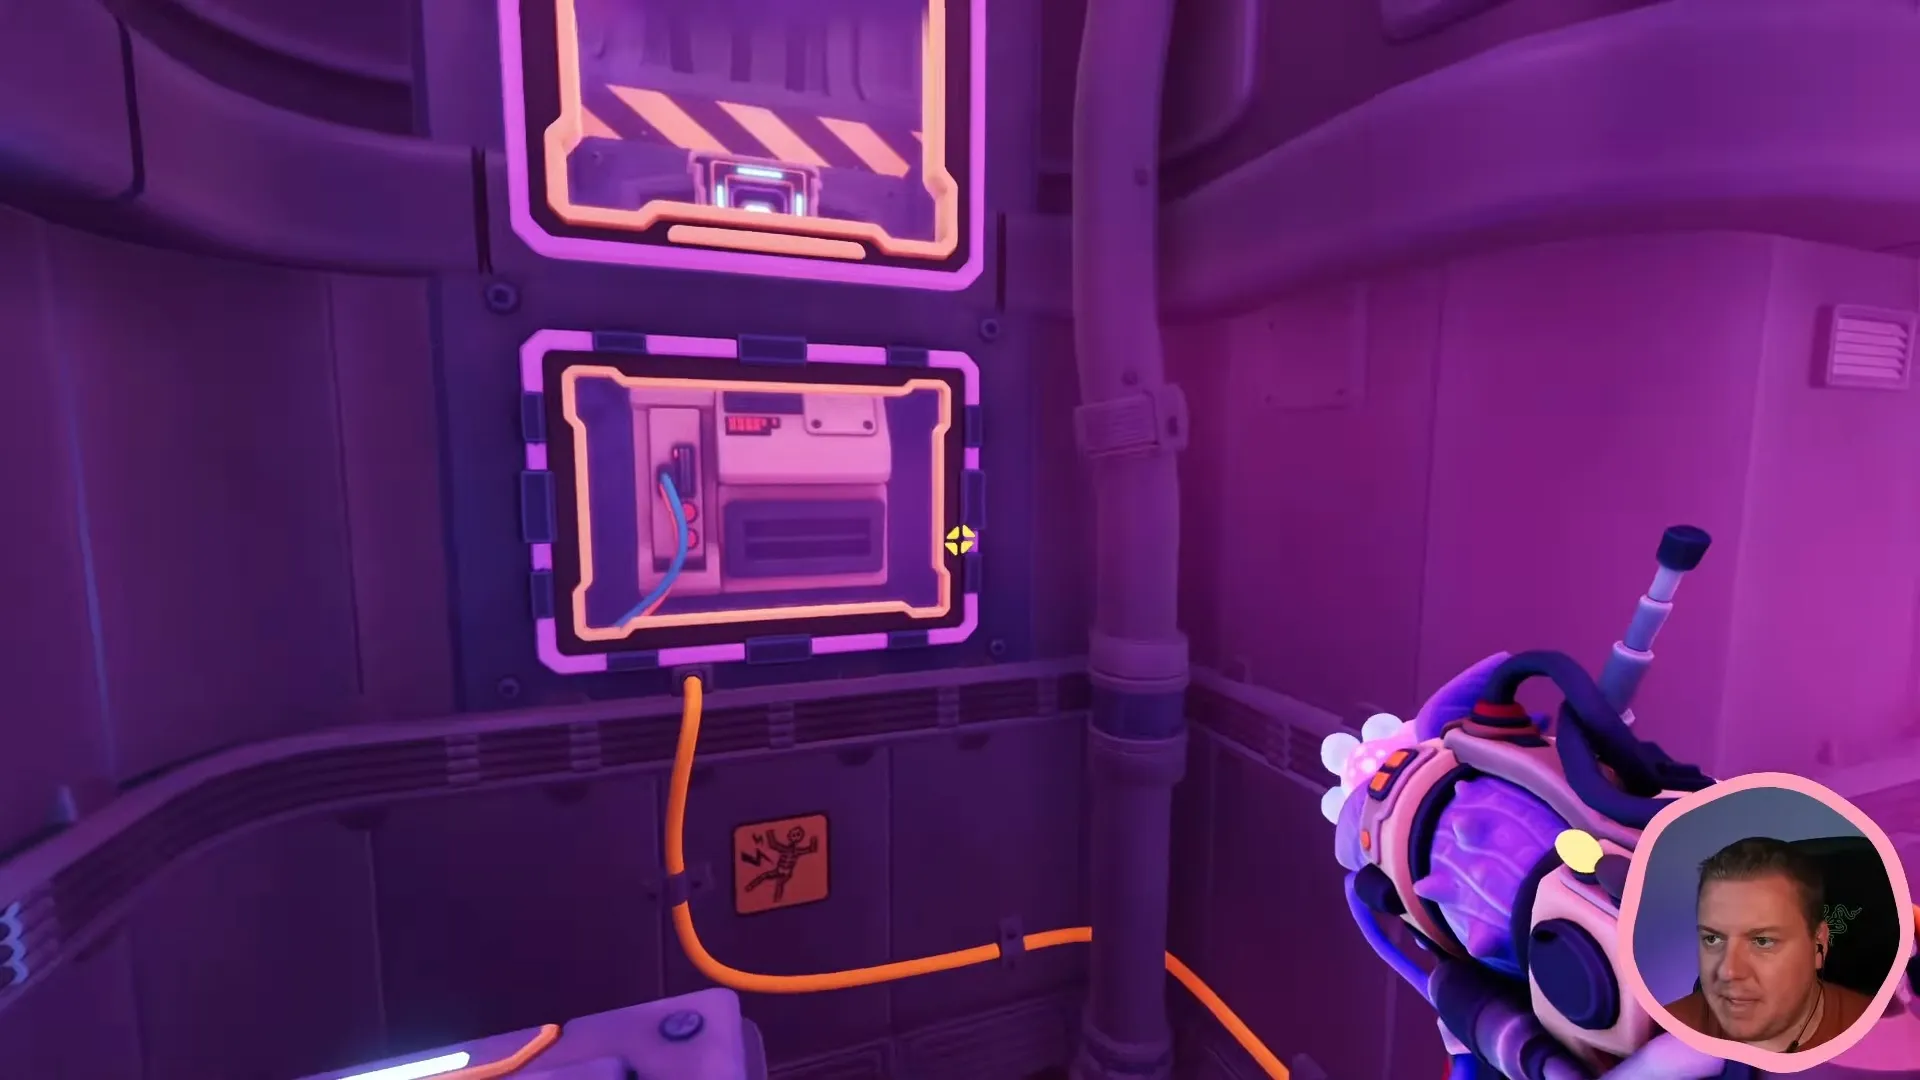
Look above the movable flap for the early pressure plate.
Shown at 108:59 in ZedaphPlays’s video.You can keep only one cube active. Recall your previous cube before trying to place another, and tell your partner before removing a cube they still need.
Where do you get laboratory access?
The next control area needs purple and green access cards and a missing fuse before you can pull the paired controls. Start the Exotic Matter Laboratory access puzzle when you reach the colored card slots.
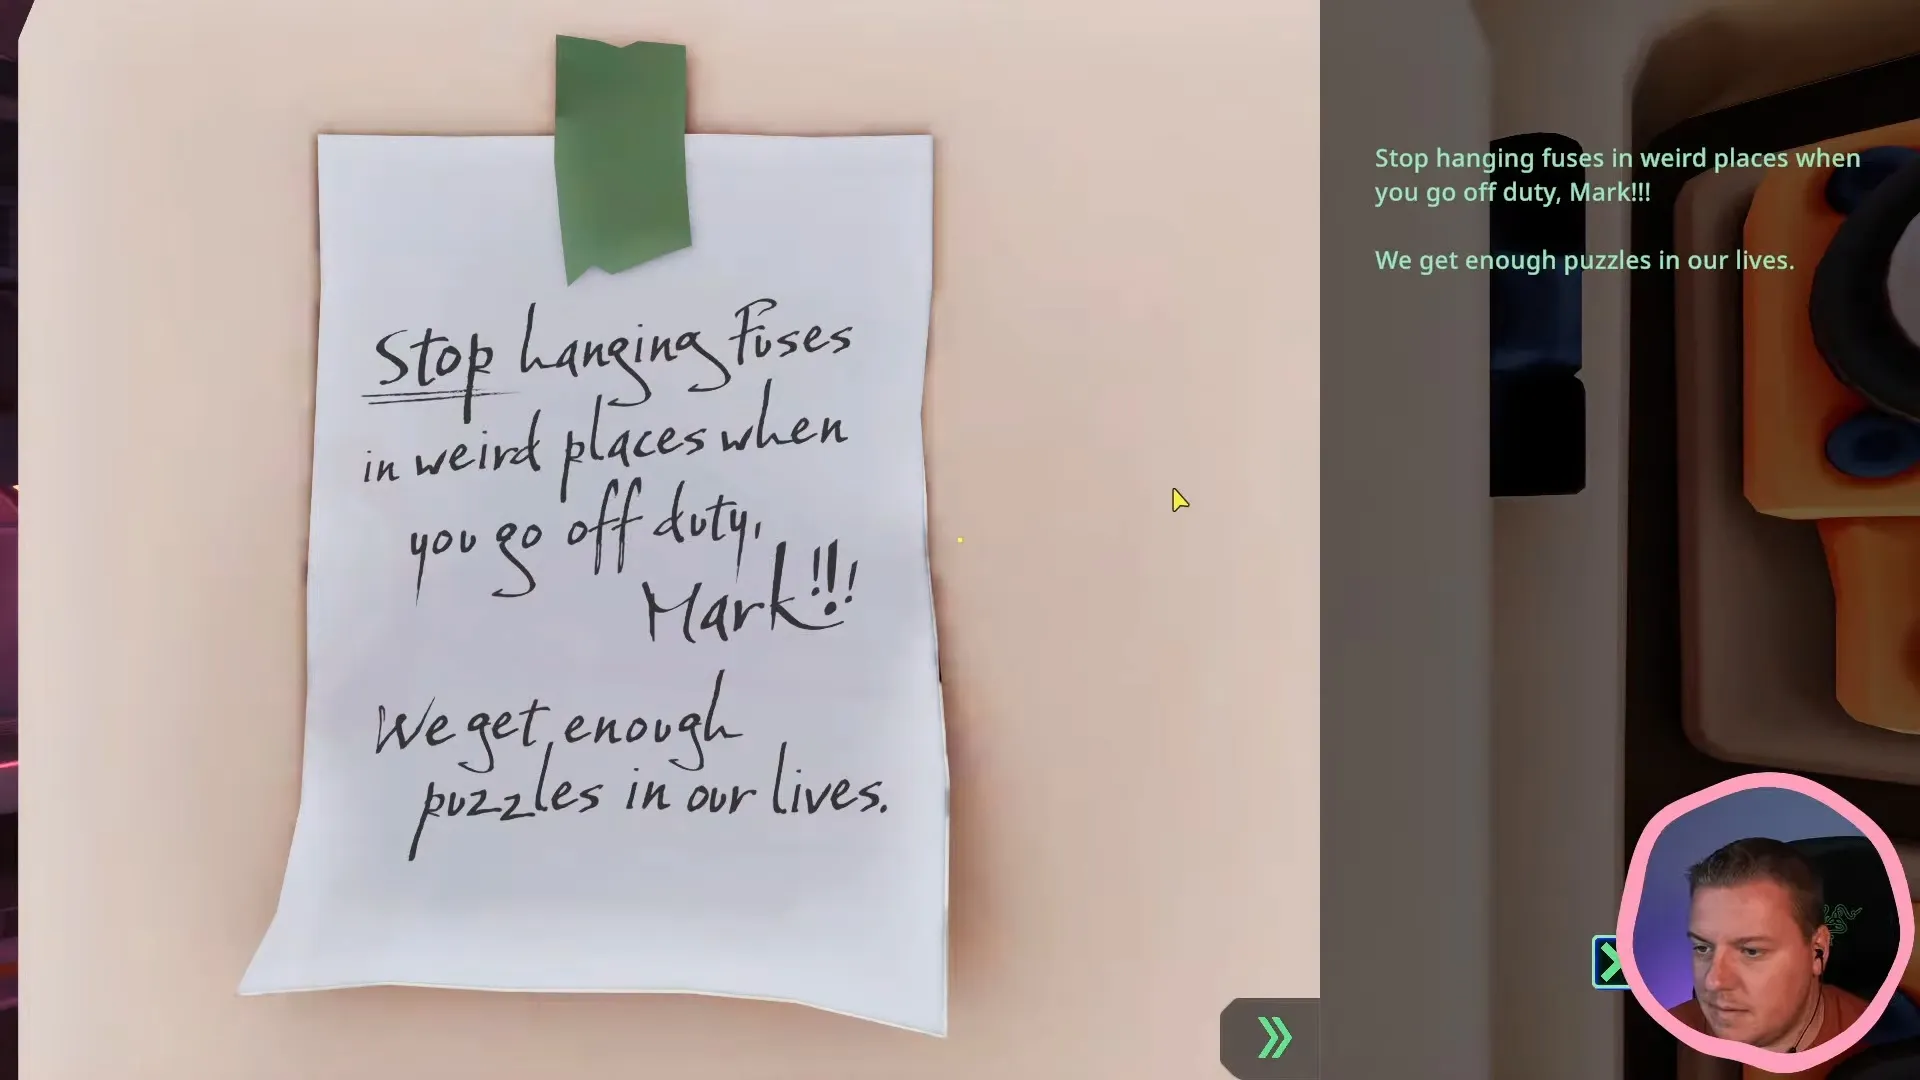
The purple and green slots mark the access-card control area.
Shown at 113:50 in ZedaphPlays’s video.Where are the laboratory symbols and dials?
The symbols and dials are in the separated chambers after the access-card controls. Once you each have a chamber, follow the laboratory symbols and dials puzzle for the symbol-button grid and dial controls.
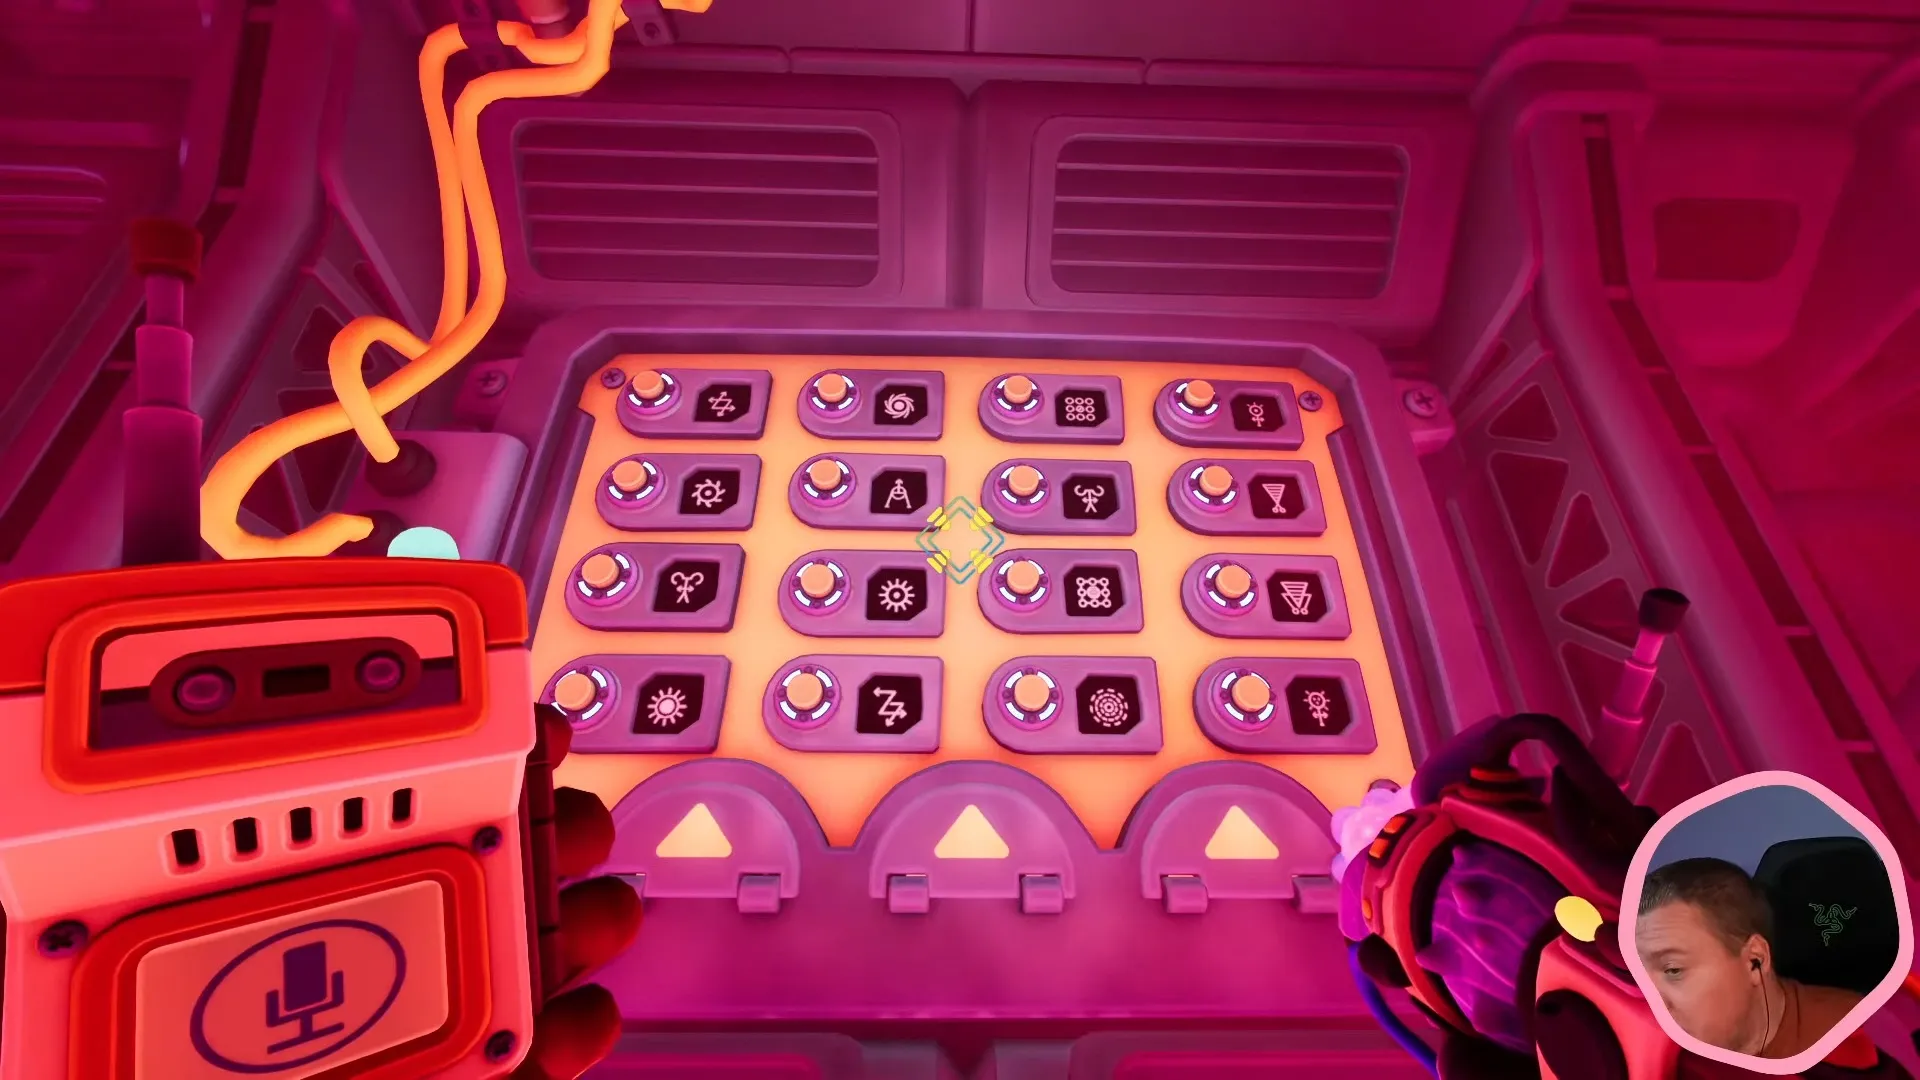
One chamber has a four-by-four grid of symbol buttons.
Shown at 128:06 in ZedaphPlays’s video.Where is the Magnetic Stabilizer pressure plate?
The Magnetic Stabilizer pressure plate is in the room beside the vent you open for your partner, after the symbol chambers and charged-pad traversal. When you reach the two-person plate, continue with the Magnetic Stabilizer pressure plate puzzle.
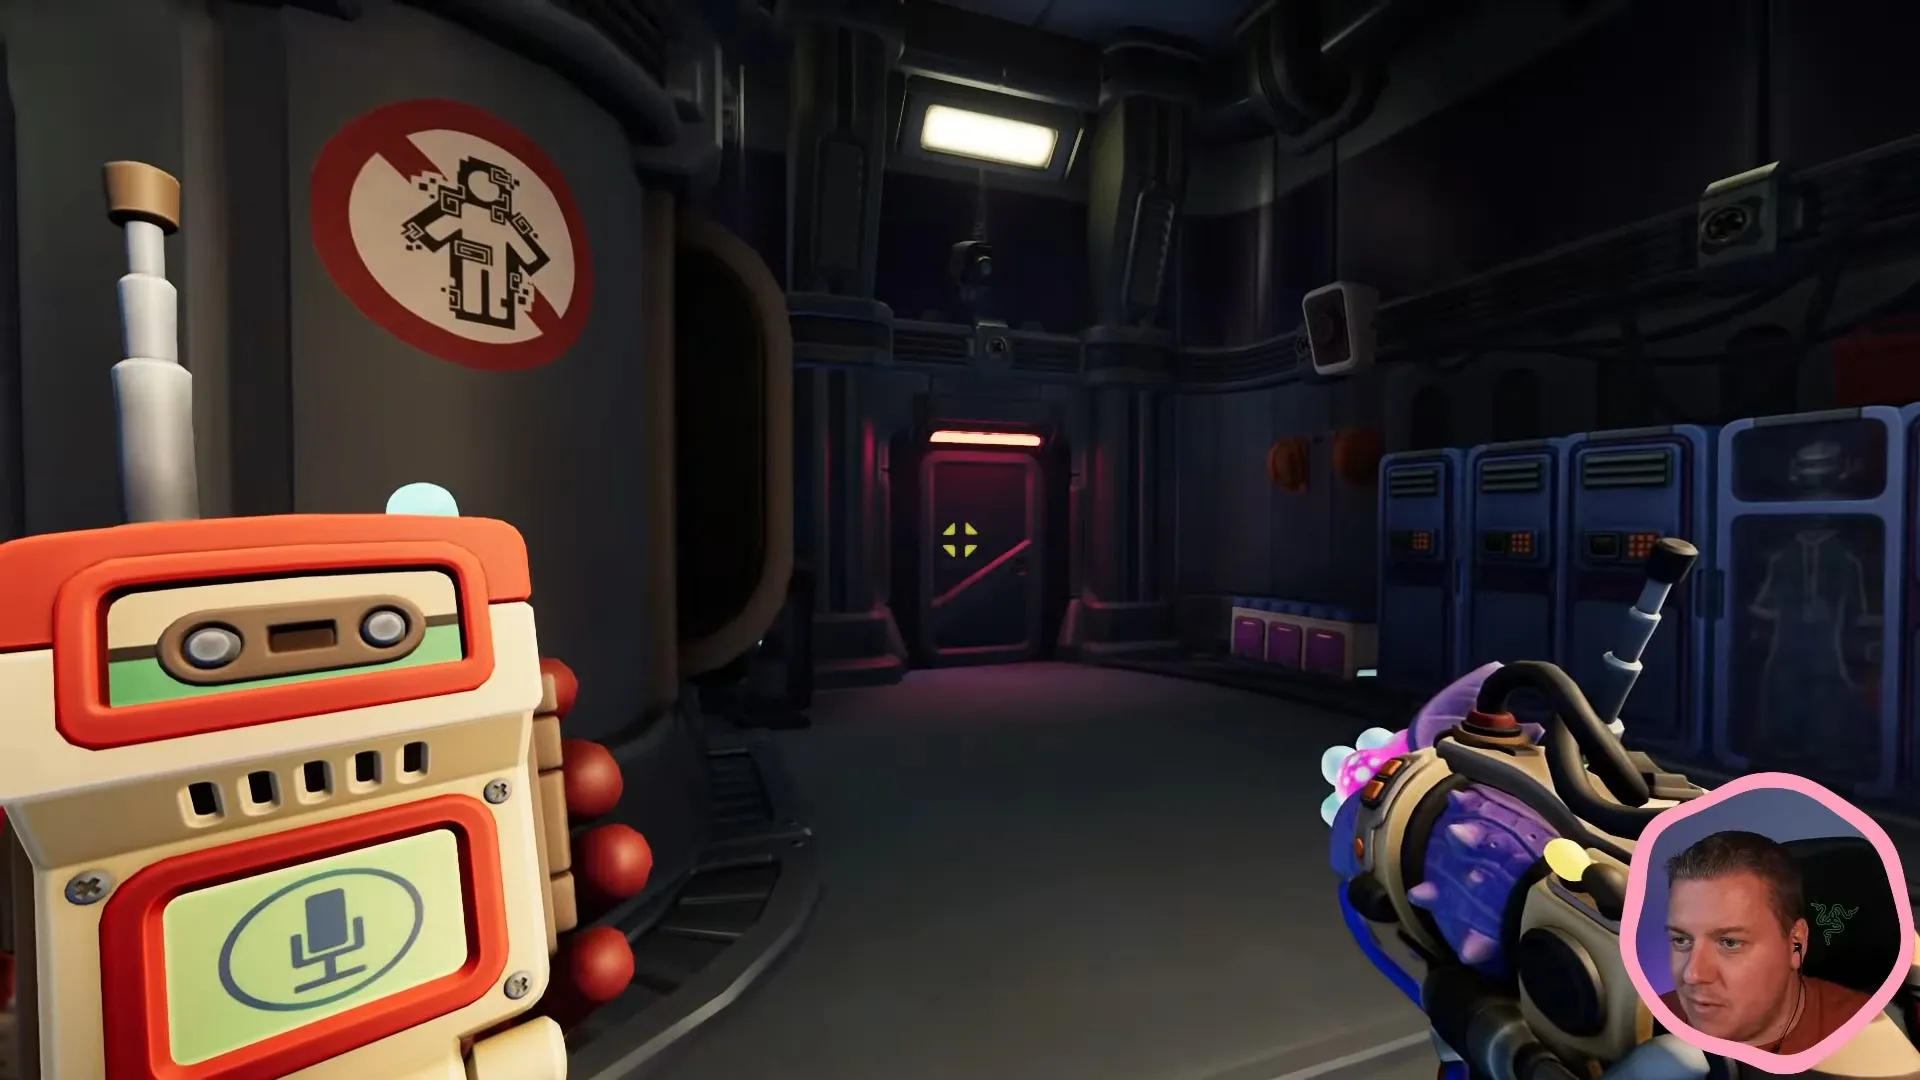
The room beside the opened vent contains the two-person plate.
Shown at 137:20 in ZedaphPlays’s video.How do you reach the laboratory laser rooms?
Work together through the rotating platforms and grates, then complete both sides of the drone controls to open the bridge.
- After the stabilizer, ask your partner to remove your heavy state.
- Help each other onto the moving platforms. Open flaps so your partner can reach cube sockets, then continue through the grate when it opens.
- At the computer with the drone image, operate your control and have your partner complete the other half. The display has a checkbox for each side; the bridge opens after both sides are done.
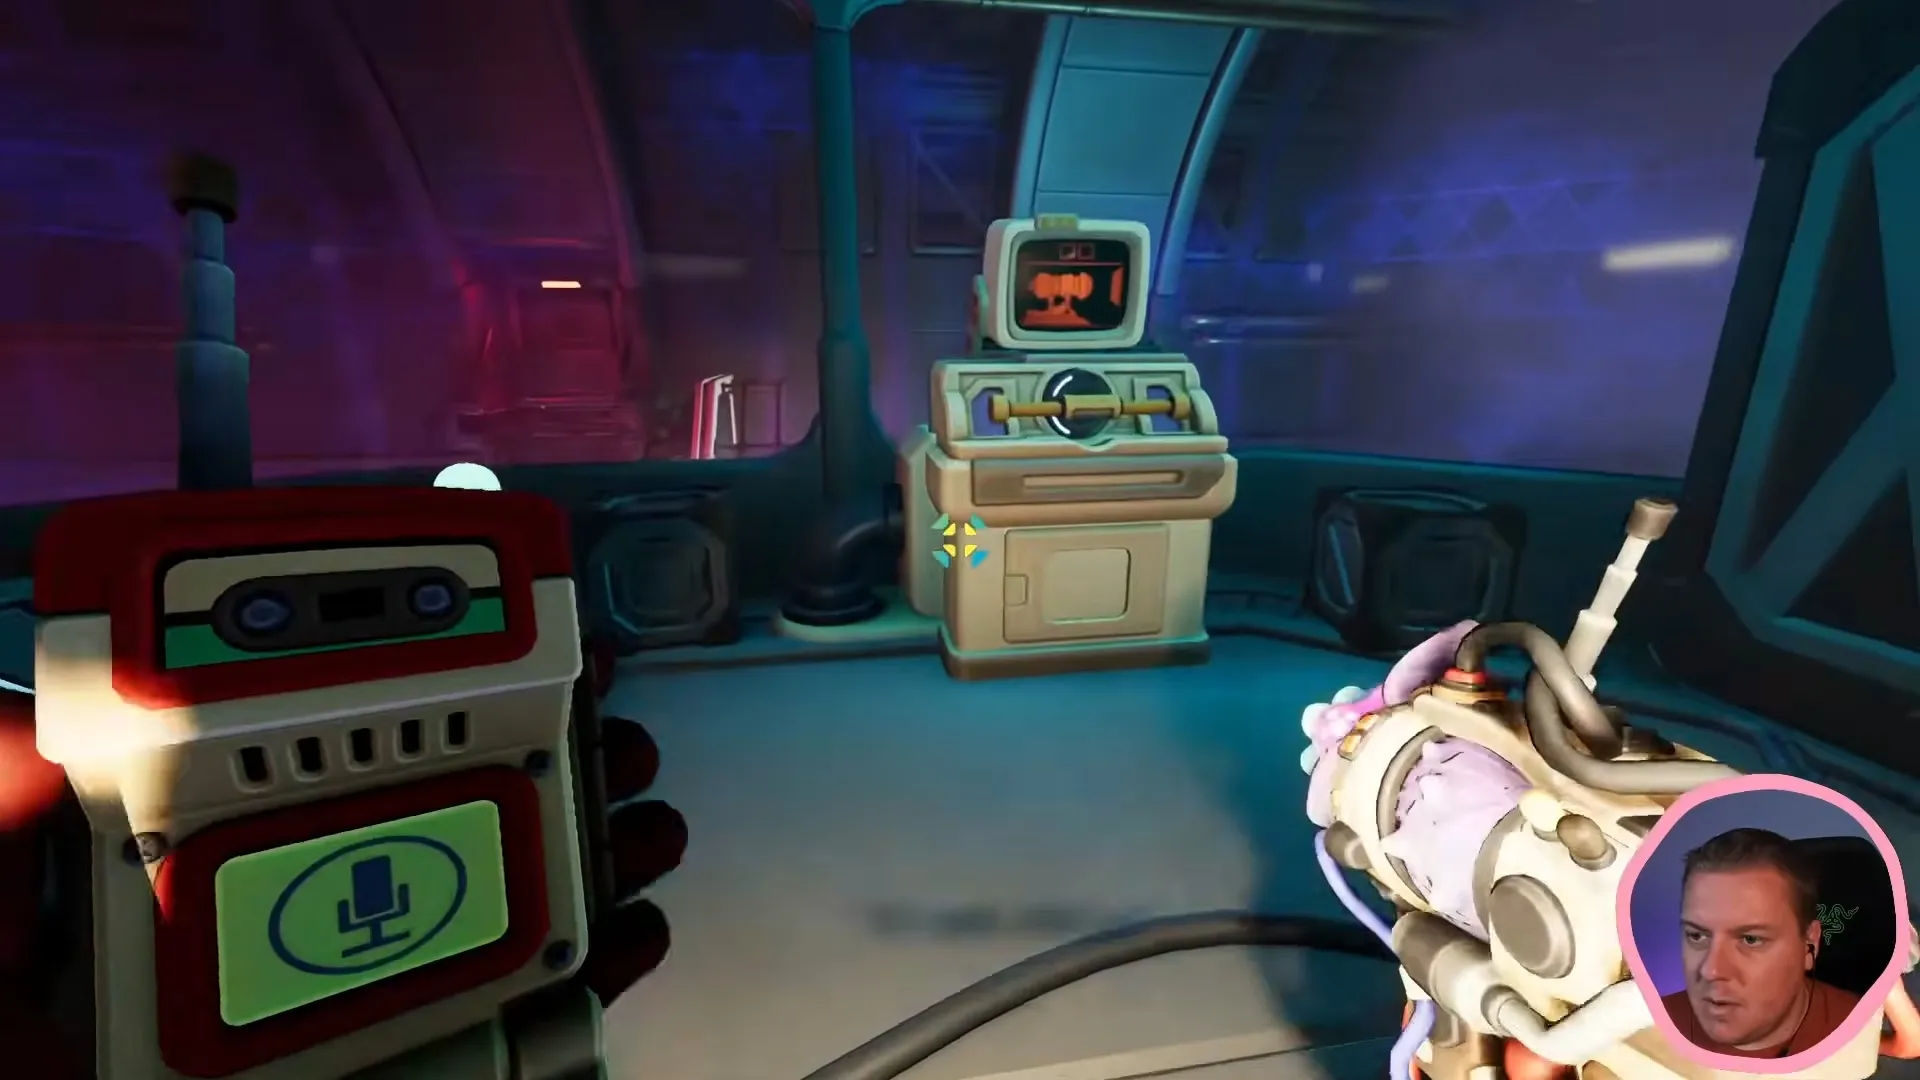
The drone computer has two checkbox indicators beside the drone image.
Shown at 149:04 in ZedaphPlays’s video.- Cross the bridge and continue into the vortex chamber. Use the lowering controls, then both pull your levers.
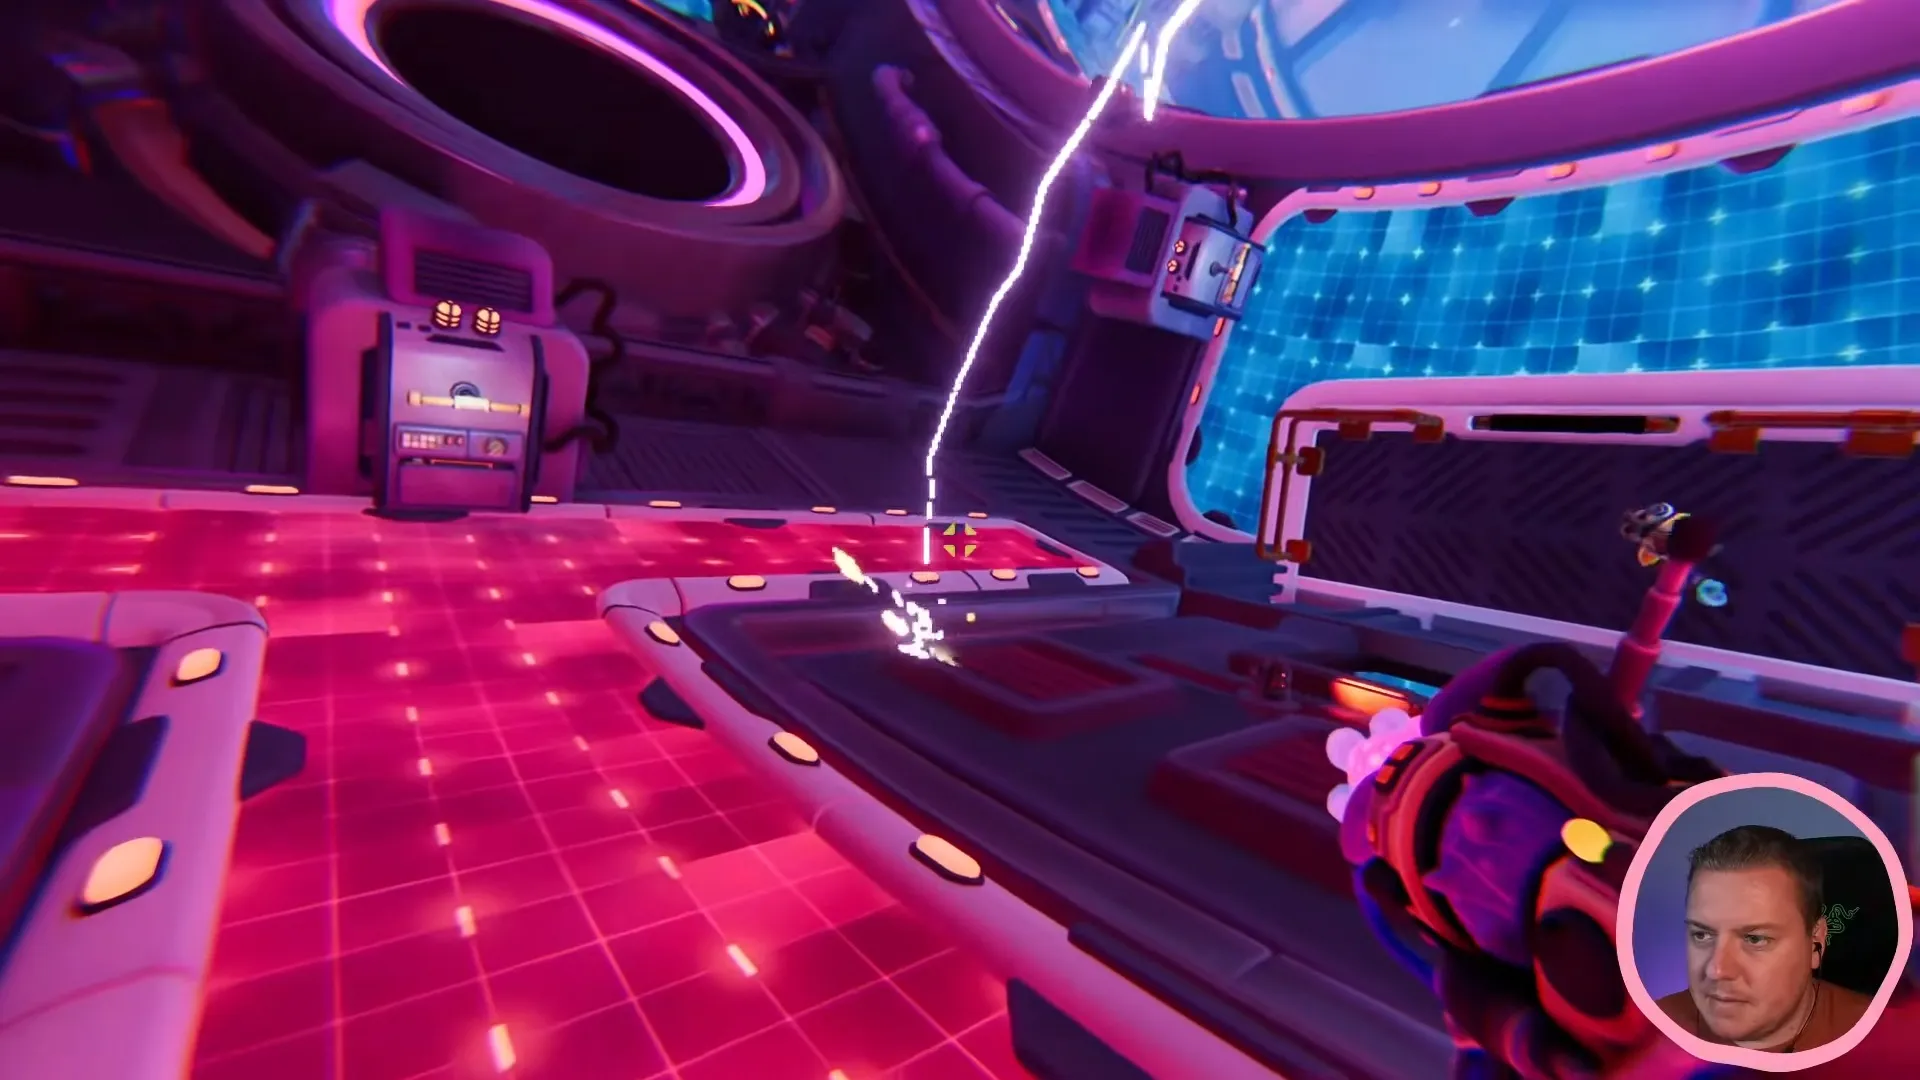
You each have a lever to operate in the vortex chamber.
Shown at 151:23 in ZedaphPlays’s video.How do you finish the laboratory lasers and leave?
Complete the laser relay and the Master Emitter crystal configuration, then return to the earlier chamber for the paired-lever activation.
At the offline laser array, begin the laboratory laser relay; this stage uses movable crystals and laser nodes to pass the beam between your routes. At the final device, follow the Master Emitter crystal configuration for the crystal requirements and the inspectable computer's order clue.
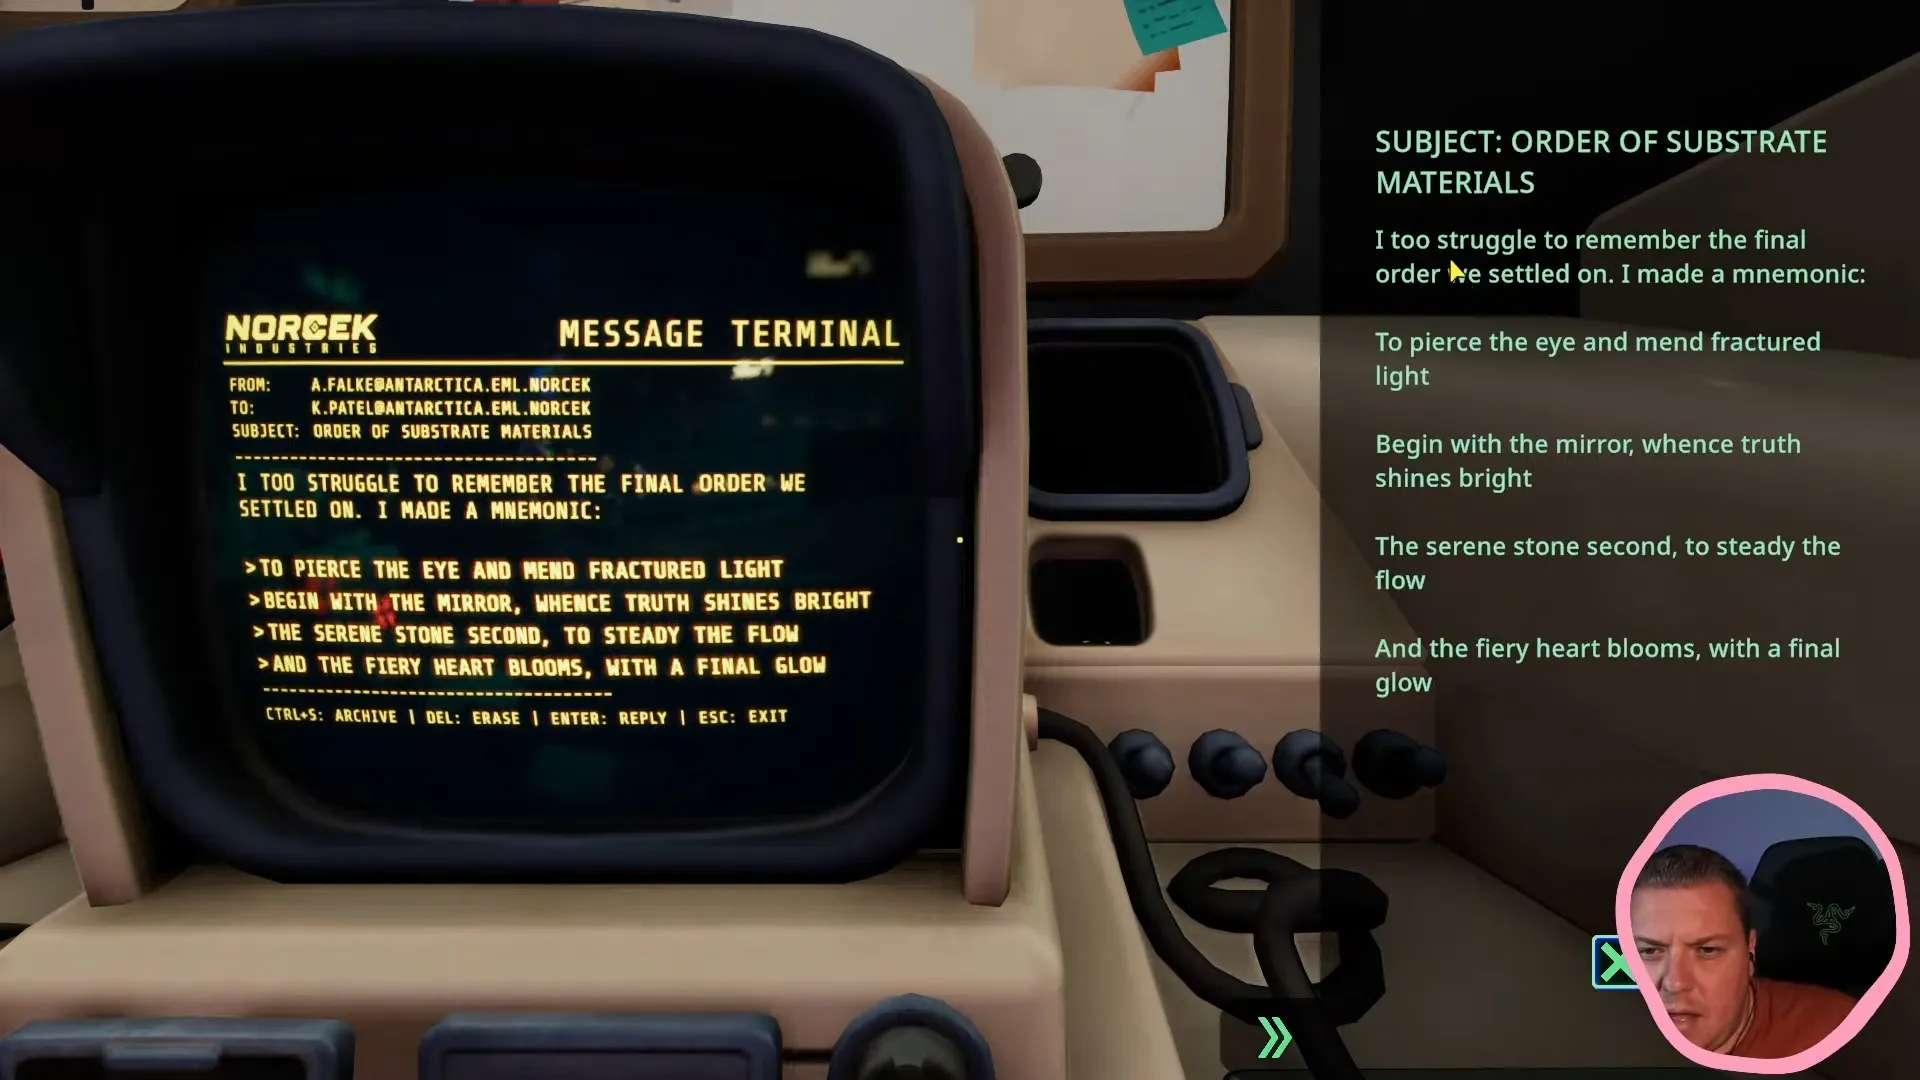
You can inspect the computer for the final crystal-order clue.
Shown at 197:56 in ZedaphPlays’s video.Once the corrected configuration blasts the exit door open, return to the earlier chamber. Finish the path and both pull the levers to activate the large laser.
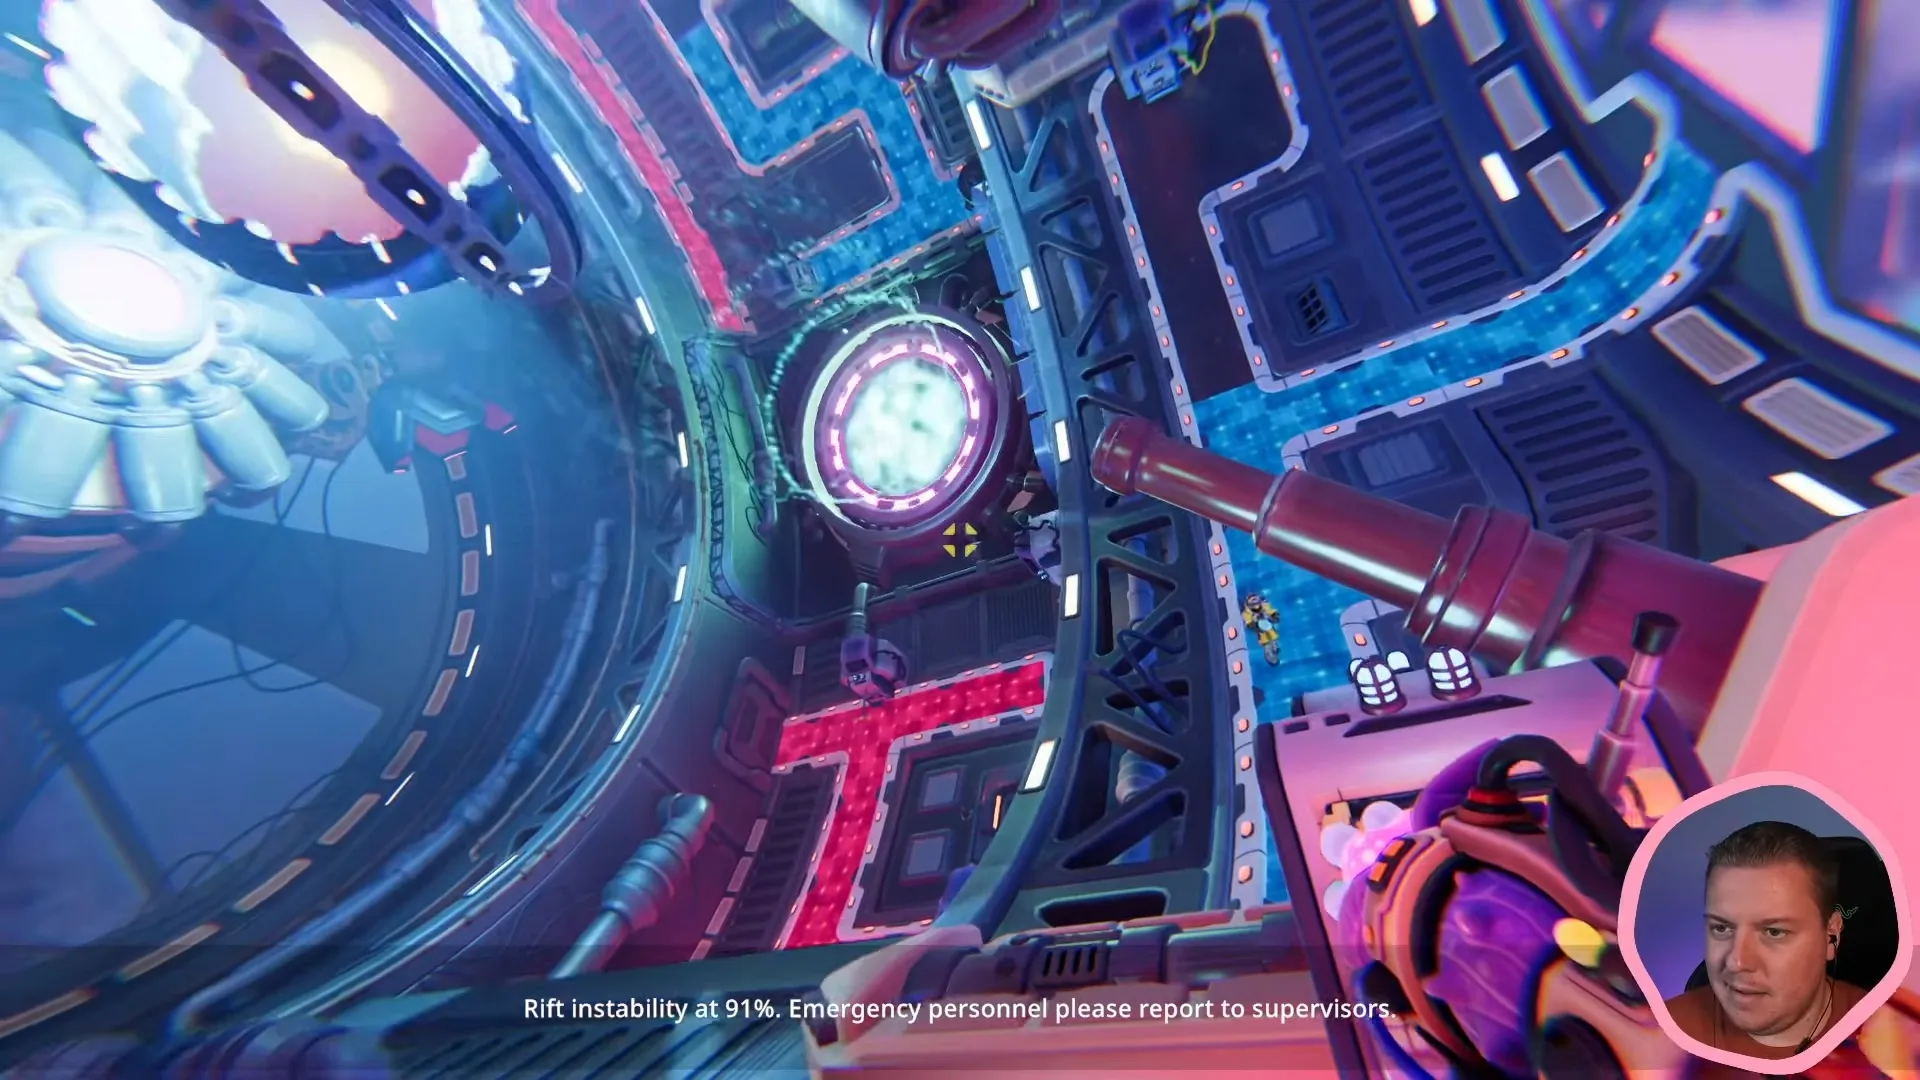
The large laser fires after you operate the paired levers.
Shown at 202:19 in ZedaphPlays’s video.You can leave while the laser is firing. Rejoin your partner and continue with the Ring Corridor walkthrough.
FAQ
Get through the entrance platforms, restore access, finish the separated controls and stabilizer, then complete the laser rooms and activate the paired levers.
You need the purple card, green card and missing fuse at the laboratory control area.
You can move on once the crystal setup opens the door and the later paired-lever activation starts the large laser.